Now that you’re able to connect to the web host server, it’s time to manage your files. You want to be careful as to what you change in the remote site area as you could inadvertently corrupt your website. This could result in your webpages no longer working correctly.
Creating a Local Site
One of the best practices when using FileZilla is to have a local site prepared on your computer. Essentially, this is a folder on your computer that will hold your website data. It’s better if you use a single folder for this purpose in order to keep files separated and easy to find. To do this:
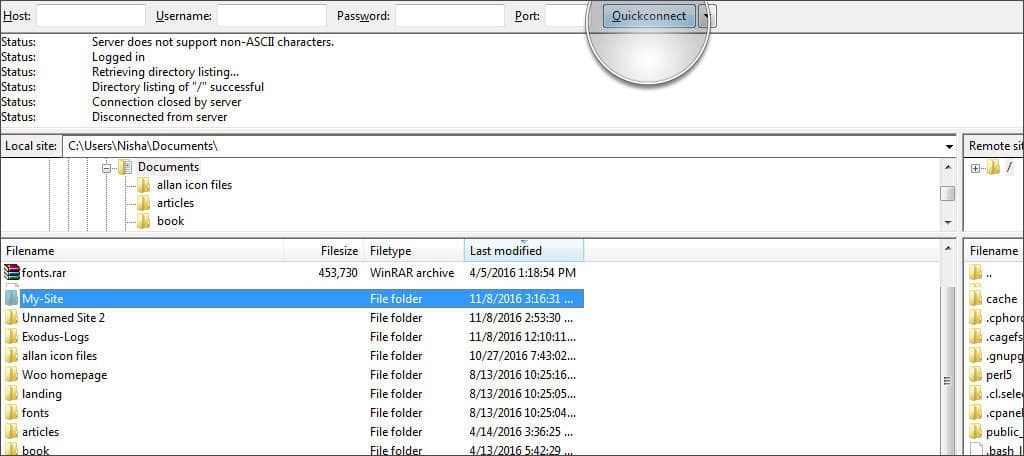
Use the navigation in “Local site” to find the area in which you want to save your website files. For this tutorial, we’re going to use the “My Documents” area.
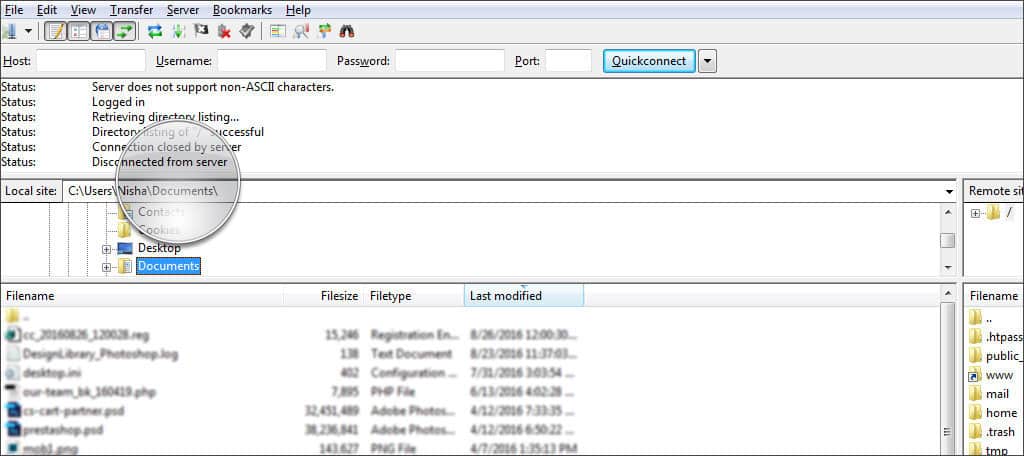
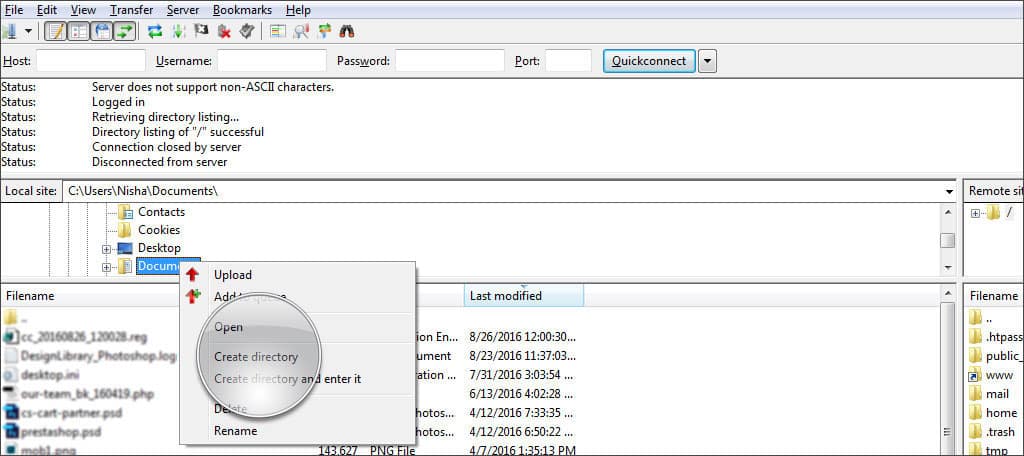
Right-click “My Documents” from the local site window in FileZilla.
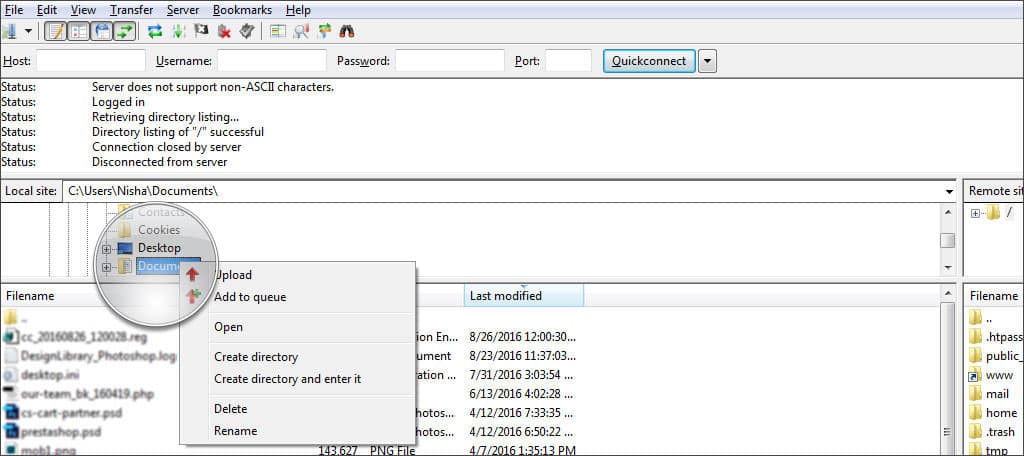
Find the option to “Create a directory and enter it” and click.
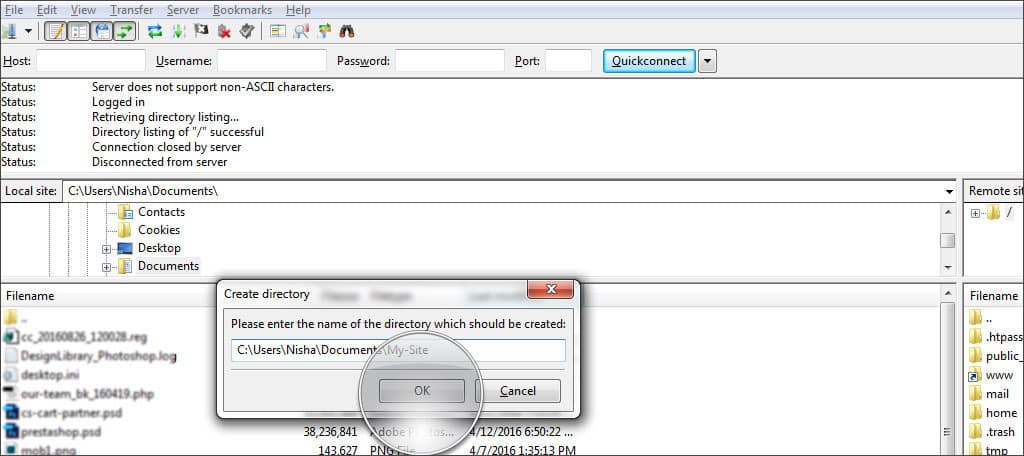
This will bring up a small window to name the new directory. For this example, we’re going to name it “MySite.” The directory should now read something like, “C:\Users\YourName\Documents\MySite.” Bear in mind this may be different if you’re using a Mac or Linux.
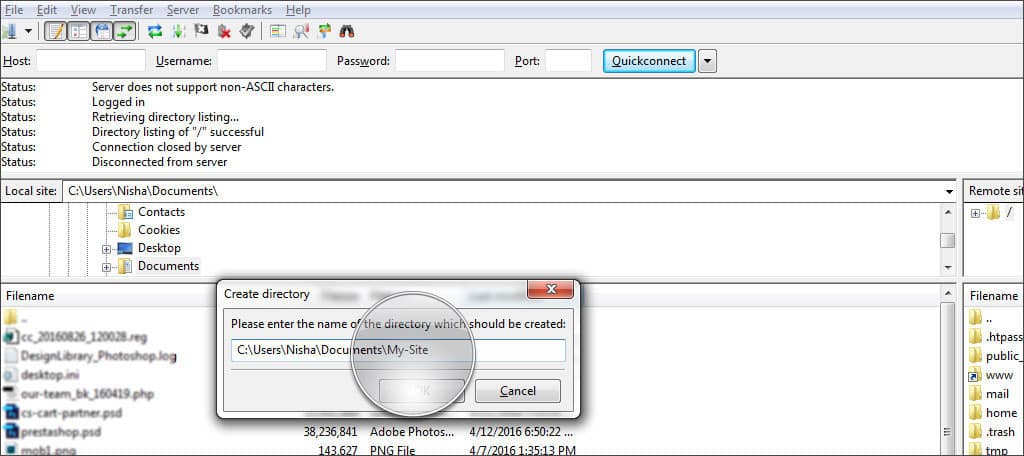
Click the “OK” button to save it.
Connect to your website using the Site Manager or the Quickconnect controls.
Once the connection is made, we’re going to copy the “.htaccess” file from the website to the computer. Hold down left-click on .htaccess in the remote site window on the right and drag it to the local site window on the left. Once you drop it, you’ll see FileZilla will automatically download the file and place it in your new folder.
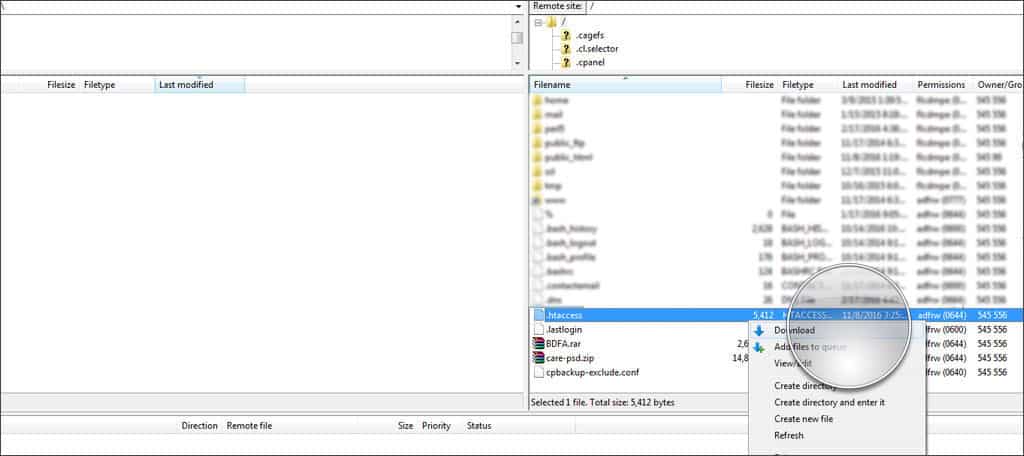
This file transfer works either way. You can drag-and-drop files from local to remote windows and FileZilla will automatically upload them to the site and vice-versa. This makes backing up your site easy if you want a copy of it saved to your computer system.
Can you use this with Dropbox?
For those who use the Dropbox Cloud system, you can easily back up your web files. Instead of creating the folder in your local site under “My Documents,” simply create a folder for your site in Dropbox. This is usually found by going to “C:\Users\YourName\dropbox.”
This will automatically give you a Cloud-based backup of your website when you drag files into this new folder.