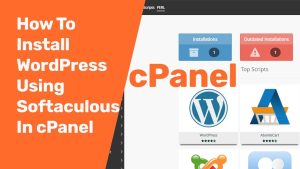
This article describes how to quickly and easily install your own WordPress site using the WordPress Toolkit in cPanel. The WordPress Toolkit provides a convenient, easy-to-use interface directly within cPanel that you can use to install, configure, and manage WordPress websites.
Installing WordPress
- Log in to cPanel
- In the DOMAINS section of the cPanel home screen, click WordPress Toolkit.
3 . The WordPress Toolkit page appears. Under Installations, click Install:

4 . Under Choose installation options, customize your site:
- Under General, in the Installation path text box, you can optionally specify a directory in which to install WordPress.
- In the Website title text box, specify the title of your site.
- In the Plugin/theme set list box, you can optionally select a package of plugins and themes to install.
- In the Website language list box, select the language for the site.
- In the Version list box, select the WordPress version you want to install
- Under WordPress Administrator, in the Username text box, type the username you want to use to log in to the site.
- In the Password text box, type the password you want to use for the username to log in to the site. Click the eye icon to view the password.
- In the Email text box, type a valid e-mail address. This address is used to receive update notifications and other news.
- Under Database, you can optionally change the database settings.
- Under Automatic Update Settings, you can optionally change the settings for WordPress, plugin, and theme updates.
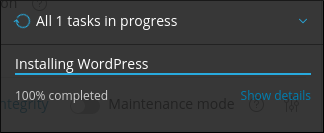
5 . Click Install. cPanel begins the installation and provides a progress indicator:
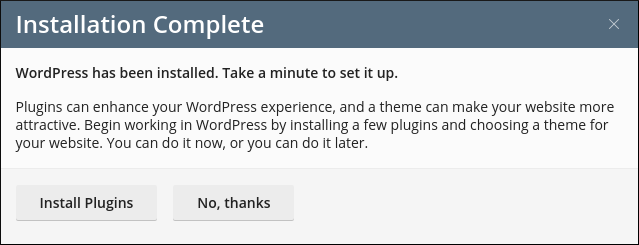
6 . After installation is complete, you can optionally install plugins:
7 . Now that WordPress is installed, you can use the WordPress Toolkit to help manage your site.
Comments