
Getting Started: Creating Email Autoresponders
An autoresponder is an automatic system that will immediately send a reply message to every incoming message. So if you go on vacation you can set up an autoresponder on your email account and an “I’m on vacation, I’ll be back next week” response will be sent to all incoming messages.
Creating Email Autoresponders in cPanel
First of all login to cPanel
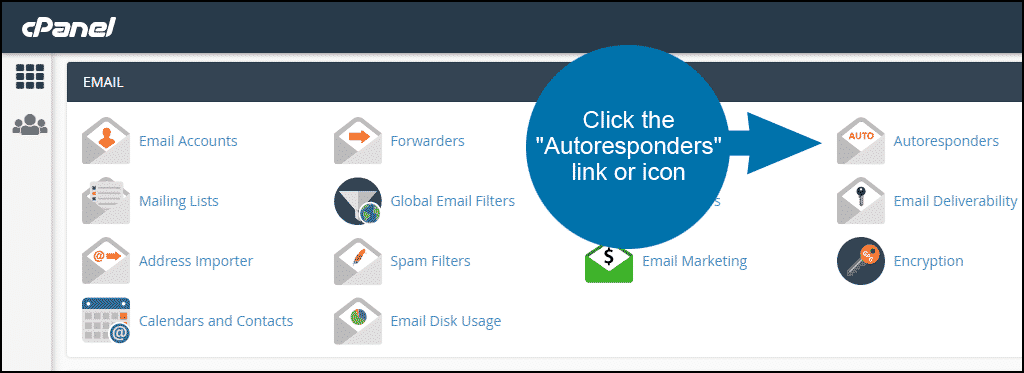
In the “Email” section, click the “Autoresponders” link or icon.
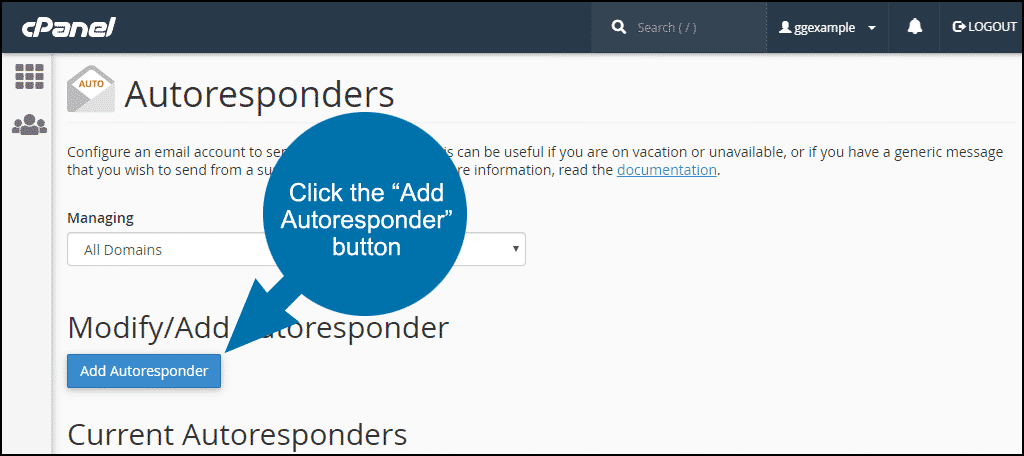
Click the “Add Autoresponder” button.
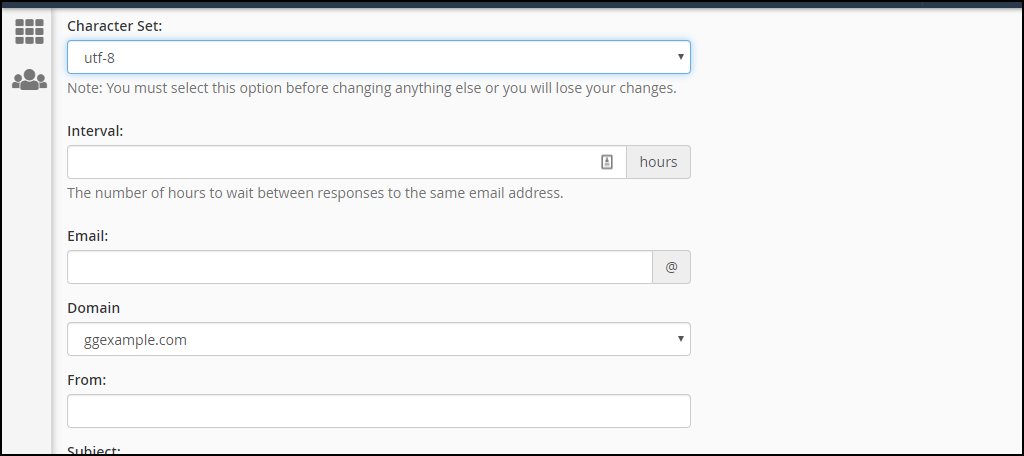
On the next screen, you will set up all of the configuration data for the autoresponder.
Character Set – for the character encoding of the message. Unless you have a specific reason to change it, leave the default setting of utf-8.
Interval – set the number of hours between responses, to minimize the possibility of sending multiple autoresponses to the same email address.
Email and Domain are where you enter the email address that will send autoresponses to any incoming messages.
From – the username to appear in the response.
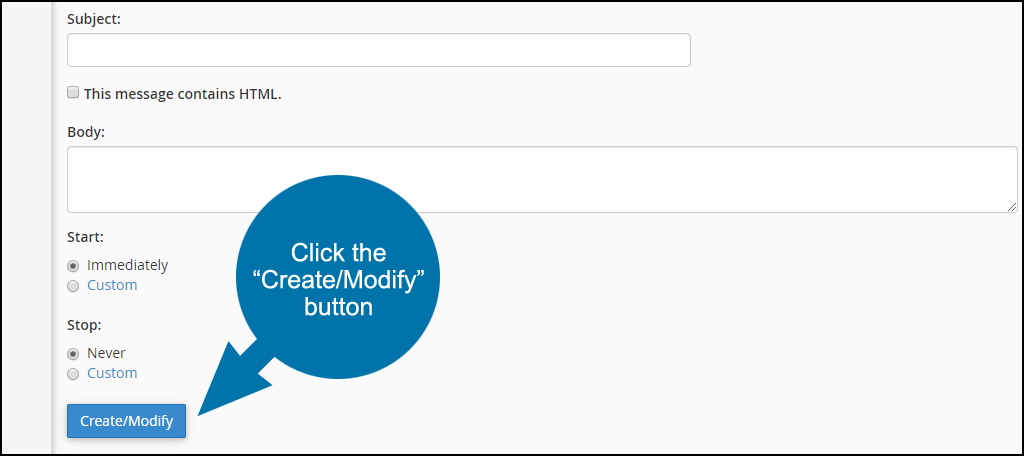
Subject – the subject to appear in the response.
Check This message contains HTML if you intend to use any markup in the body of the email.
Body – the email message. There are a few variables you can use in your autoresponse: %subject%, %from%, and %email%.
Start – when to start sending autoresponses. Select “Immediately,” or chose a date and time by selecting “Custom.”
Stop – when to stop sending autoresponses. Select “Never,” or chose a date and time by selecting “Custom.”
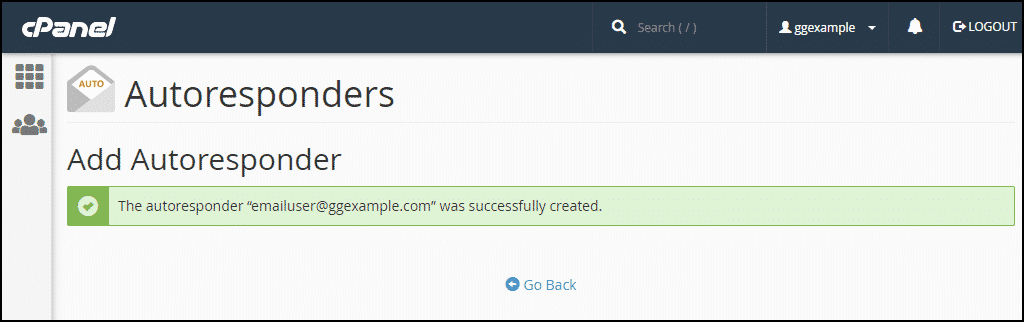
Click the “Create/Modify” button.

Once the button is clicked, the autoresponder becomes live.
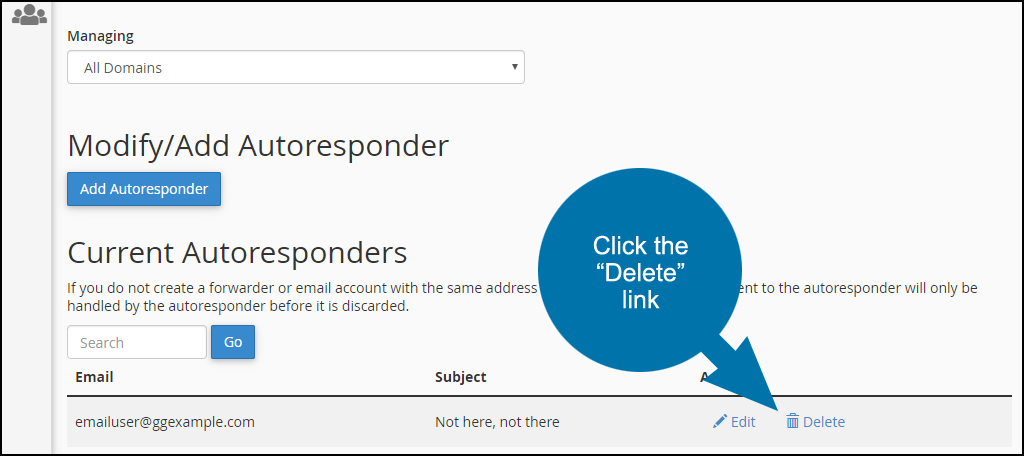
Deleting an Autoresponder
If you ever need to delete an autoresponder, go back and click the “Delete” link.


